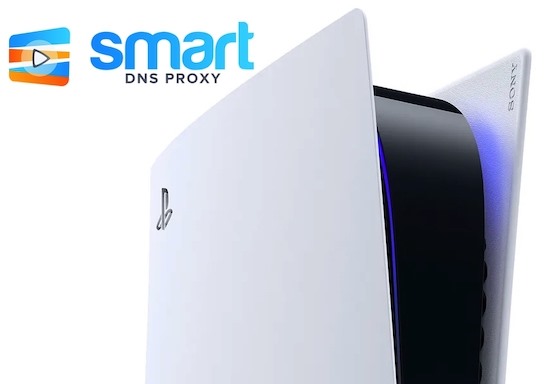
Okay, the PlayStation 5 is out now. And we got one for ourselves as well. Finally.
So, if you are planning to use PlayStation 5 with Smart DNS Proxy, or simply apply a custom DNS directly to the console, this video will show you how to do it. It's not particularly hard, and once you know where to look, it's actually pretty easy.
In this video, I’ll show you an easy way to change your DNS on your PS5.
Before we begin, there are several reasons why you want to change your PS5 DNS settings or change the DNS in general.
Changing DNS settings on your PS5 can make a huge difference if your ISP’s DNS servers are unreliable or if the server you are playing multiplayer games on your PS5 is far away from your location. In short, changing your primary and secondary DNS servers will usually give your speed a big increase.
Another reason to change DNS on your PS5 is to bypass geo-restrictions on streaming sites like Netflix, Hulu, etc. by using Smart DNS Proxy DNS.
To find out which DNS is best for you, check out our previous videos.
With that out of the way, here’s how to change the DNS settings on PS5.
Turn ON your PS5 and go to the homepage, click on the Settings tab, and go to the Network settings.
Inside the Network tab, go to the Set Up Internet Connection tab. You will see two options here: Use Wi-Fi and Use a LAN cable. Select the appropriate one depending on the type of connection you have.
Next, if you are already connected to the Wi-Fi, click on it to bring the Advance Settings popup. And select that.
When you are inside the settings, set the IP address to automatic and DHCP Hostname to Do not Specify.
At the end of the DNS settings option, choose the manual one and it will prompt you to enter the DNS manually.
You can now change the DNS settings by entering the appropriate DNS. Just enter the Primary and Secondary DNS by clicking on the respective tabs.
Use the DNS servers closest to your physical location.
The list of IP addresses of our DNS severs can be found here.
After you have done this, go to the MUT settings and set it to Automatic.
Keep the proxy server to Do Not Use and then click on the Test Internet Connection to test the speed.
You can now see the Updated Internet Connection speed when you use the console.
So, that’s how you change the DNS settings on your shiny new PS5, but there is one final step that you need to do. Since Smart DNS Proxy is a private DNS service, you need to make sure your IP address is updated in our database. To do so, follow these steps.
You will need to log into Smart DNS Proxy website, go to your account section, and update your IP address so that our system could check your IP address and add your IP to our database. Then, you will be able to continue using our service. Remember that whenever your PS4/PS5/Router IP changes, our service will stop working for you and you’ll need to repeat the process. Typically, if this happens, you will see an error message on your PS5 while browsing.
That’s pretty much it, that’s how you change the DNS settings on your PS5. Talking about PS5, we’ll probably be thinking videos on it, starting with how the streaming experience on PS5 is, various tips and tricks that are quite useful for PlayStation users so if you are up for that, do let us know in the comments sections.
As always, thanks reading and watching, subscribe to our YouTube channel and see you in the next one.
BACK TO NEWS